Photography Day: 5 snappy tips for beginners
How often have you scrolled through a selection of incredible pictures, snapped by your favourite Instagrammer and longed to produce work of such quality?
Well, since the introduction of digital cameras, photography has become a lot easier. The days of darkrooms and expensive film are far behind us; today aspiring photographers can simply dive in and start snapping at anything that piques their interest.
However, if you’re looking to take your work to the next level, there are specific rules to master. In this week’s blog, we’re offering 5 top tips to set you off on your journey to becoming a professional photographer!
The rule of thirds
A blurred, over-exposed photograph is better than a poorly framed shot – hence why it’s crucial to have a basic understanding of composition. The question is – what is the secret ingredient responsible for that “wow” factor seen in the works of so many professional photographers? The Rule of Thirds is your answer!
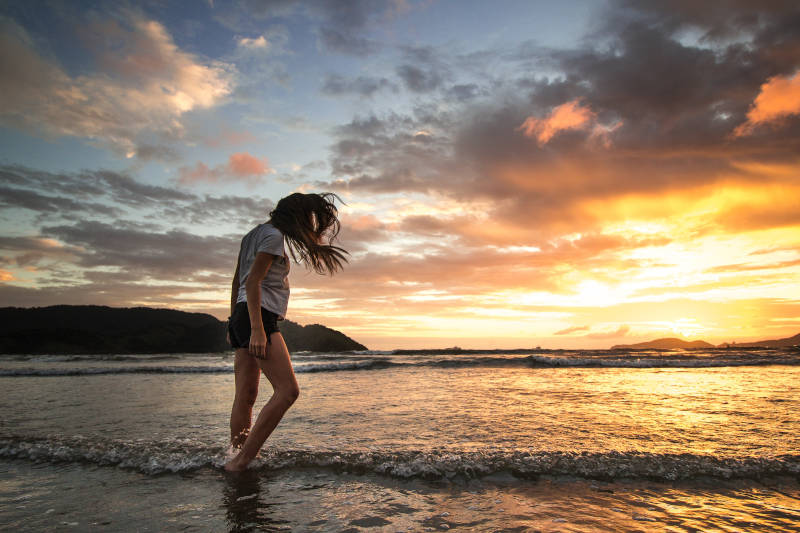
To use this, imagine four lines, two lying horizontally across the image and two vertical creating nine even squares. Some photos look best with the focal point in the centre square, but off centring the subject at one of the imaginary lines’ crossing points sometimes results in a more aesthetically pleasing photograph.
By positioning key elements at the rule of thirds’ intersections or gridlines, your photo becomes more balanced. The technique also encourages dynamism – when the viewer sees a key element off to the side, he or she takes a visual journey throughout the rest of the image.
Focus on the eyes
It has been suggested that the eyes are a gateway to the soul – a statement that is highly applicable to portrait photography. They are our natural focal point; it is therefore important that when taking a picture at any aperture, the subject’s eyes are crisply in focus.
If your in-camera results aren’t quite sharp enough, they can sometimes be fixed in post-processing. Various programs can be used to sharpen images; if you have the budget, the obvious choice is Adobe Photoshop and Lightroom – if you’re looking for a free alternative, we recommend GIMP or Snapseed.
Choosing the right time of day
As a photographer, light is your paintbrush – it highlights shapes, texture and creates shadow. The short period after sunrise or before sunset is known as “the golden hour” – during this time window, the light is warm and soft; thus enhancing shots of landscapes, nature and more.
The longer shadows and more diffused light means that you are much less likely to over-expose highlights or lose detail in darkness. The low sun beaming across the landscape also creates a romantic ambiance – perfect in capturing a strikingly atmospheric photograph.
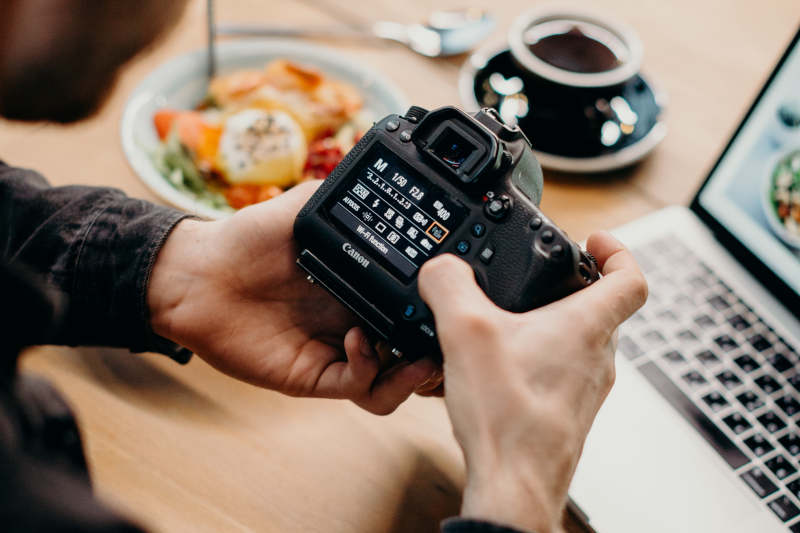
Using the exposure triangle
Before tackling the exposure triangle, we recommend experimenting with framing and lighting, using your camera’s Auto Mode. When you feel as though you’ve attained a basic grasp of composition, it’s time to manipulate the Aperture, Shutter Speed and ISO.
Aperture – This refers to the size of the opening in the lens diaphragm. Smaller numbers mean a larger opening and more shallow depth of field in your images. Larger numbers let through less light but make more of your image look sharp.
Shutter speed – This is the amount of time your camera’s shutter is open and the amount of time your sensor or film is exposed to light. Faster speeds can “stop” motion, while slower speeds let in more light and can capture blur and motion.
ISO – The ISO indicates how sensitive the sensor or film is to light. For darker scenarios, you’ll need to use higher or more sensitive ISO settings to capture light, such as 800 or 1600 ISO. Higher settings generally introduce more grain or noise into the image.
Remember, before you start adjusting these controls, you should be aware of the symbiosis between all three. You would typically have to consider the impact adjusting one of these controls will have on at least one of the others.
Avoid camera shake
How often has a potentially perfect holiday snap been ruined by a shaky hand? Don’t be disheartened – even the most seasoned professionals are often plagued by blurriness; thankfully, there are several methods of preventing this irritating photographic occurrence.
For handheld shooting, make sure that you are using a shutter speed that is appropriate for your lens’ focal length. If your shutter speed is too slow, any unintentional movement of the camera will result in your entire photograph coming out blurry.
Increasing your ISO and opening your aperture will help accommodate these quicker speeds, thus reducing the chance of blurry images. However, if you’re trying to capture a specific image, altering these controls might be detrimental to your photo; it is therefore important that you focus on physically reducing camera movement.
This begins with learning how to properly hold a camera. Use one hand to support the camera body and use the other to support the lens. Pull your elbows in against your body so they have something stable to rest on. Then hold your breath right before pressing the shutter release.
You can further stabilize your body if there’s a wall, tree, other solid object, or even the floor to rest on. Some scenarios with longer exposures will require the use of a tripod.
Happy snapping!
Of course, strong photographic content is one of the tentpoles of a successful marketing campaign. It’s top-notch imagery that attracts the most engagement on the various social media platforms; something that Cordis has almost two decades of experience in.
Our in-house creative team offers expertise in photography/videography, graphic design, website creation, social media management and copywriting; the combination of which will captivate your consumer and instil your business with sleek professionalism. For more information, get in contact with Cordis today!